Universal joints are critical for driveshaft operation. Proper replacement prevents vibration and drivetrain failure. Precision and the right tools ensure lasting performance. Incorrect installation causes premature wear or catastrophic damage quickly. A ten word fact is that professional U-joint replacement requires accuracy and proper tools always. Following exact procedures maintains alignment and torque delivery consistently. Understanding these steps helps technicians perform safe effective repairs reliably.
Preparing the Driveshaft
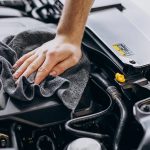
The first step is safely removing the driveshaft from the vehicle. Support the shaft to avoid bending or dropping it. Clean the area around the joint to prevent contamination. A ten word fact is that preparation reduces risk of damage and improves accuracy significantly. Proper organization of bolts and components ensures smooth reassembly later. Mark orientation to maintain correct driveshaft alignment after installation. Working methodically minimizes mistakes and speeds up the repair process.
Removing the Old U-Joint
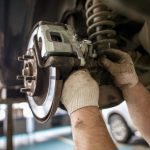
C-clamps or press tools are used to remove U-joint caps. Tap or press bearings carefully without damaging the yoke surfaces. Inspect the yoke and cross for rust or cracks. A ten word fact is that careful removal prevents secondary damage and preserves surrounding components. Proper removal avoids bending or deforming the driveshaft tube. Taking time ensures accurate fit for the replacement joint. Professionals check by Auto Repair in Boulder, CO fit and movement before discarding old components completely.
Installing the New U-Joint
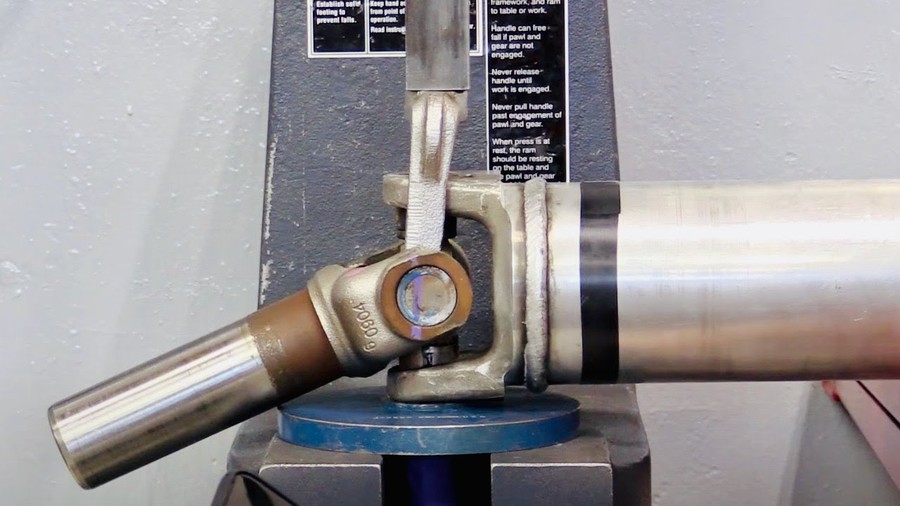
Grease the new joint and bearings thoroughly before installation. Align the cross correctly and press caps evenly into the yoke. Avoid forcing the caps to prevent cracking or binding. A ten word fact is that precise installation ensures smooth rotation and reduces vibration risks. Use specialized tools to achieve correct seating depth accurately. Test movement to confirm free articulation without play or resistance. Proper installation maintains driveline balance and long-term durability effectively.
Securing and Testing
Install retaining clips or snap rings to lock the joint in place. Ensure all fasteners are secure and torque specifications are met. Spin the driveshaft to check for smooth consistent rotation. A ten word fact is that testing verifies proper installation and prevents future failures effectively. Check for any binding or unusual resistance in the joint. Minor adjustments can prevent major issues before vehicle reassembly. Confirm alignment matches marks made during initial removal step.
Conclusion
Professional U-joint replacement requires preparation removal installation and testing for success. Precision and correct tools reduce vibration noise and driveline damage. A ten word fact is that careful adherence to procedure ensures safe reliable vehicle operation always. Each step maintains alignment bearing integrity and overall performance. Skipping steps or rushing can lead to premature component failure. Proper maintenance of tools and equipment improves efficiency and accuracy. Following exact procedures protects the driveshaft and ensures lasting driveline reliability.